

Lace Bralettes are everywhere at the moment, from the catwalk, celebrities & Instagram style influencers wearing them, to the everyday girl having and wanting them. So, of course, I had to try to make one, as there is no way I am paying 50 bucks for a bit of lace that is not going to be worn every day and I can make it myself 😉
If there is a DIY budget way to recreate the latest fashion trend, then I will try it!
So off to my sewing box to find some supplies I go.....
I have a stash of different lace in a range of colours that I have in a box, who knows why I had it originally but that's a story for another day!
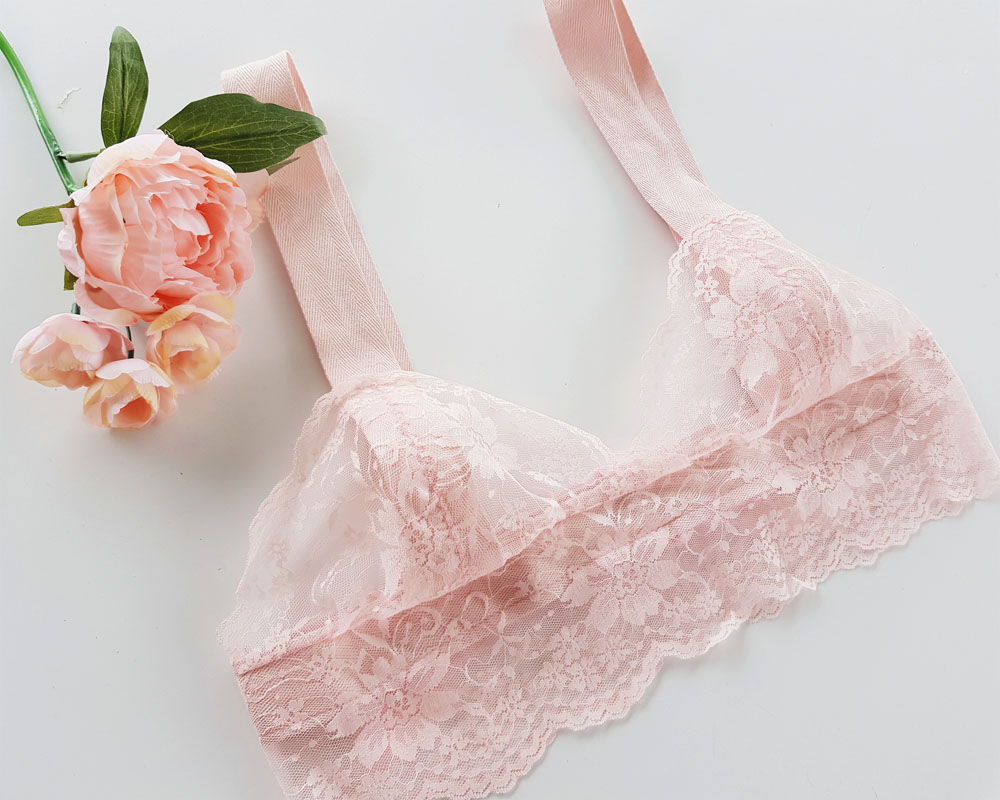
I am loving the wide lace band under the bust bralette look, so this is the look I am going to show you how to make.
I chose some lace in a pretty blush shade of pink because I knew I had some twill edging to match. The twill was a little thick, about 1 inch wide so was not sure if it would look too wide, but my daughter had a brilliant idea to extend the twill all the way down to the underbust, which would cover the nipples and make it more wearable. Brilliant, why didn't I think of that!!
LACE BRALETTE TUTORIAL DETAILS
Basic sewing skillsApprox cost $8
Approx time 30 mins
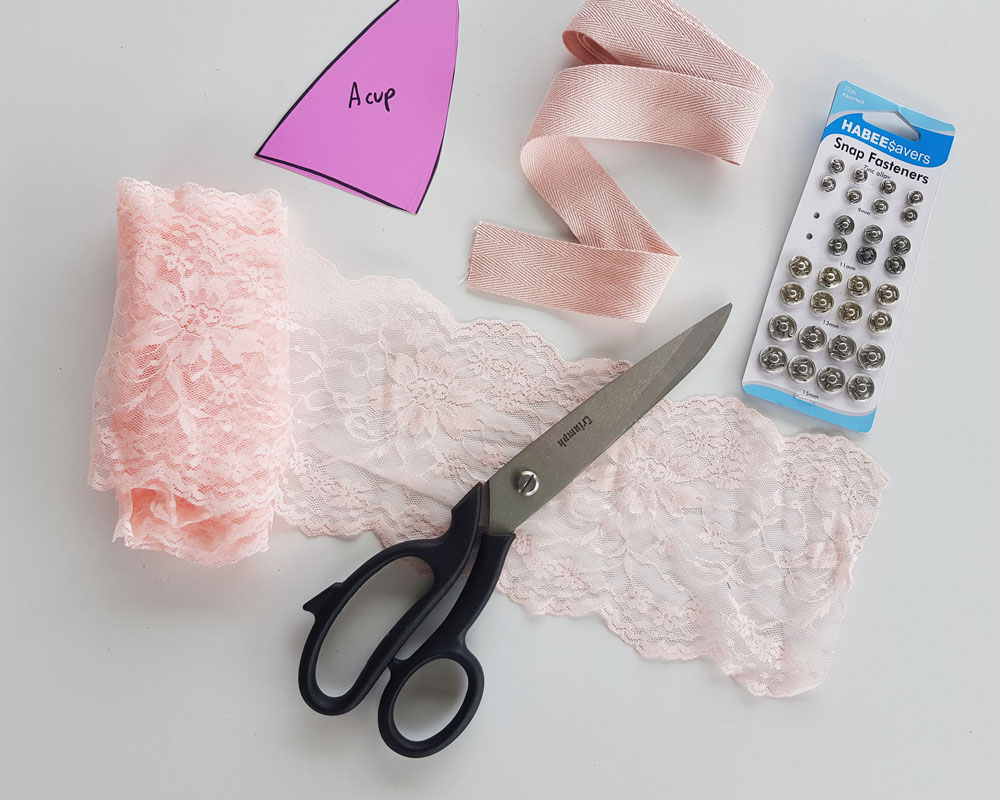
Here’s What You’ll Need to Sew your own Bralette
- Wide lace, approx 1 metre for a size small
- Twill or Elastic, approx 2 metres for a small size
- Paper and pen to draw the pattern
- Scissors
- Measuring tape & pins
- Ribbon or Snap fasteners
- Sewing machine
STEP 1
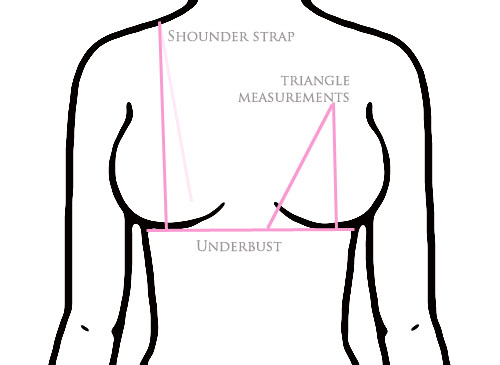
Measure your own size with a tape measure
Measurement 1 Underbust
Measure the whole way around your back full circle. This should just be under your bust not on your bust
Measurement 2 Shoulder Strap
Measure from your underbust to all the way over your shoulder to where the strap would be that goes across your back. Make sure this measurement is the centre of the breast.
Measurement 3 Triangle
Measure from the top of the triangle, (this will be the point that you want your lace to finish above your breast) down to the underbust. This is the seam you will be sewing down to form the centre of your bralette triangle.
Measure the outside of the triangle, from the top point down to the underbust. This will be the outer edge of the lace.
Draw up your triangle with your correct measurements, the sewing seam will be a slight curve

STEP 2
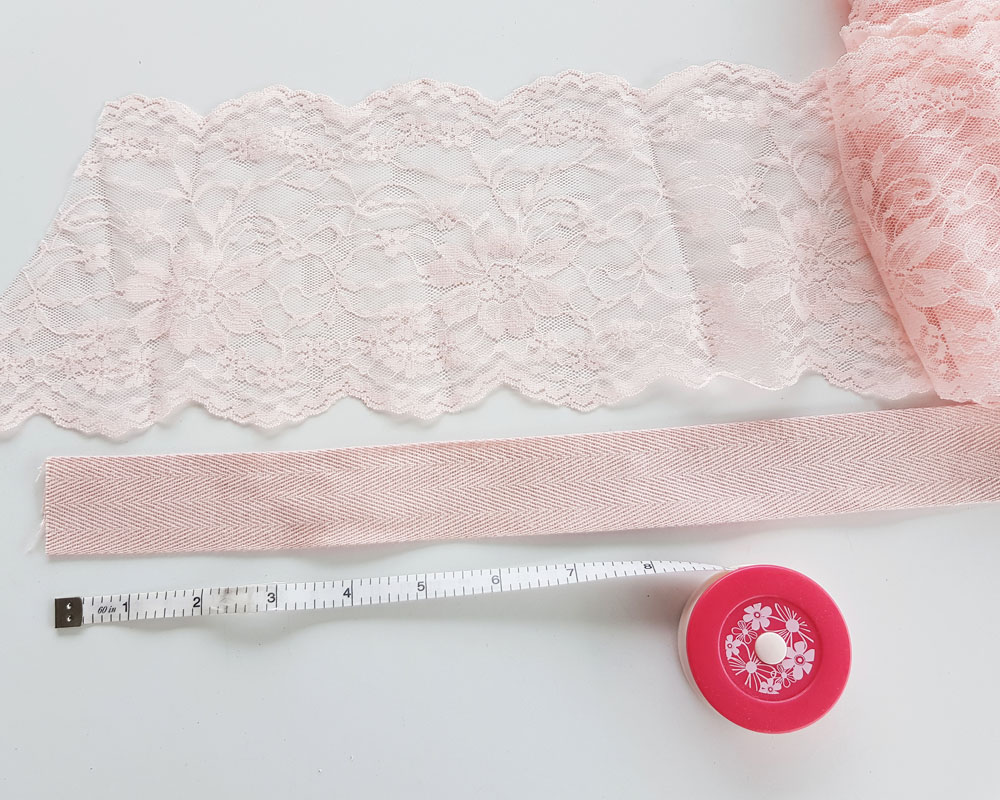
Cut your Twill/Elastic to match your measurements, and add a few inches.
Cut your Lace to your underbust measurement.
STEP 3
Cut your triangle cup pieces. You need 4 pieces
Make sure the outer edge measurement is on the pretty edge of the lace and try to match the lace design on each piece so it will sew symmetrically.

Cut as close to the seam as possible creating a clean edge.

Pin your long piece of lace over the edge of your twill/Elastic making it flat
Sew at the top and bottom of your band in a straight line.
If your band is not stretched, use a straight stitch.
If your band is elastic, use a zigzag stitch and pull the elastic slightly when sewing.
I recommend you use matching coloured thread

Place your band at the back of your lace triangles and pin to secure.
Sew down the centre in matching thread colour.


With your underbust band, fold it in half to find the centre and mark it with a pin.
Now measure from there the distance you would like the straps to be over your chest and mark with a pin. This would be the centre of your breasts.

STEP 7
Face together the outside of the underbust band and the outside of the triangle. The shoulder strap band is matched up to the previous step's pin location.
Pin both triangles to underbust
(This is your chance to test the placement right before you commit to sewing it together)


STEP 8
Sew a straight stitch across, joining the bralette cups to the band.

STEP 9
Carefully cut the edge of the triangle lace and band to create a clean edge. Do not cut the band's edge.


STEP 10
Place the bralette on the body to figure out the strap size and pin your straps making sure it's a firm fit.
Sew on the strap with a straight stitch.

STEP 10
There are 2 methods to attach the bra at the back, I am showing you the ribbon way in case you do not have any snap fasteners. If you have snap fasteners then just fold the edge over and sew a nice edge and place fasteners on the back, making sure it's a secure fit.
Ribbon method
Loop your band over on the inside of the bralette and sew a straight stitch.
push your ribbon through the loops and tie in a bow.


The ribbon looks so pretty right?
I have to say I am impressed with how well this turned out, it's very beautiful on and I am now going to make some more Bralettes in a range of colours, definitely a black one and maybe I will try one that is lined on the inside to wear out. Let me know if you would like a tutorial on a lined version.


I hope you enjoyed this fashion tutorial, if you have any questions, please feel free to ask me in the comments below.
Happy Sewing!
