
Anyone else thinks scrunchies would never be back in trend? Same 😄
But they are back from the '80s & '90s and looks like they are here to stay. So why not make some for your teenagers and yourself, they are great for your hair because of how soft they are, which means NO Breakage! and also so cheap to make.
This is an easy retro fashion sewing project for beginners to learn to sew and once you make one, the scrunchies will be multiplying big time!
This design can be altered to make plain scrunchies, extra-long fake scarf designs, short Bunny Ear bows and some fabulous tails with fun print fabrics that no one else is wearing!
TUTORIAL DETAILS
Sewing skills - BeginnerApprox cost - $2
Approx time - 30 mins for a beginner
SUPPLIES TO MAKE YOUR 90's INSPIRED SCRUNCHIE
- Fabric or an old garment in a print of your choice (think recycling using your favourite shirt that is too small for you or damaged). Try sequins, velvet, metallics and wild prints!! You do not need much fabric so an off-cut or a flat quarter is plenty.
- Sewing machine
- Scissors, pins, safety pin
- Thin Elastic
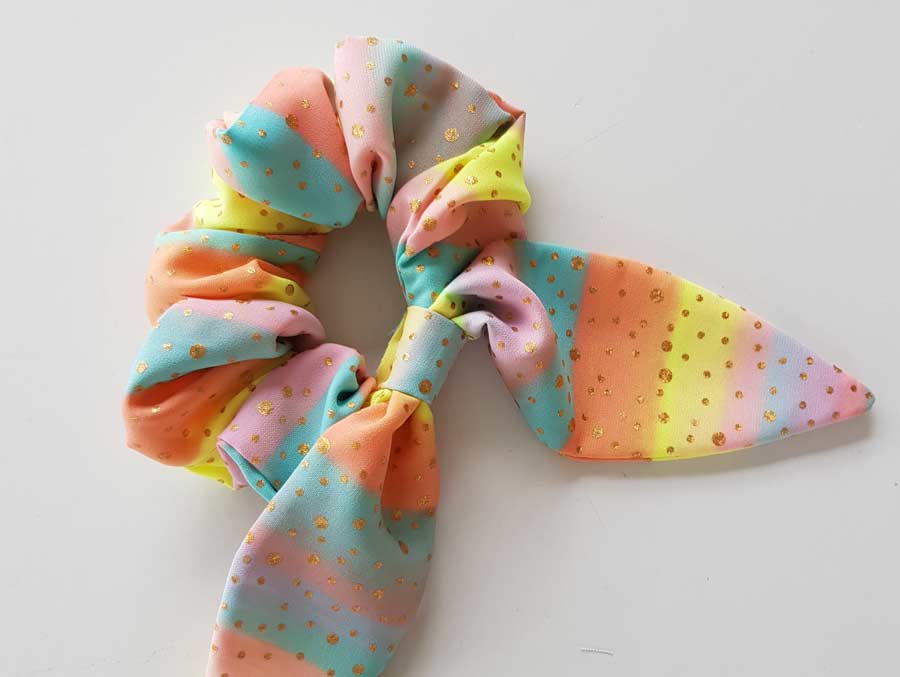
Select your fabric, I have used a pastel stripe with gold metallic dots and soft poly.


STEP 2
Pin and draw a pointed end on your rectangle piece of the pattern. I do not cut this out afterwards, I sew on this line which makes it easier to keep the shape and a good sewing tip for beginners on small pieces.

STEP 3
Sew your long rectangle and little rectangle up one edge, without sewing the ends together

STEP 4
Cut the edges of your panels neatly and turn the correct way out.
I used my hands to pull the pointed panel the correct way out and then a pencil to push out the corners neatly.
For the straight long panels you can use a safety pin on one edge and thread through pulling the inside out.

STEP 5
With a short length of elastic, thread it through your long rectangle using a safety pin and gather the fabric as you go, holding the end of the elastic tight. Once gathered, place the elastic over each other by 1cm and sew tight.

STEP 6
Fold one end of the fabric over creating a clean edge and slide over the other raw end and pin. Sew a neat straight line. Once sewn closed, you have a basic plain Scrunchie

STEP 7
Place your tail panel over the top of your sewn line on your scrunchie.
With your small rectangle panel, wrap around the scrunchie and tail.
With your small rectangle panel, wrap around the scrunchie and tail.
Sew a straight line to secure the pieces together and cut close to finish off.
STEP 8
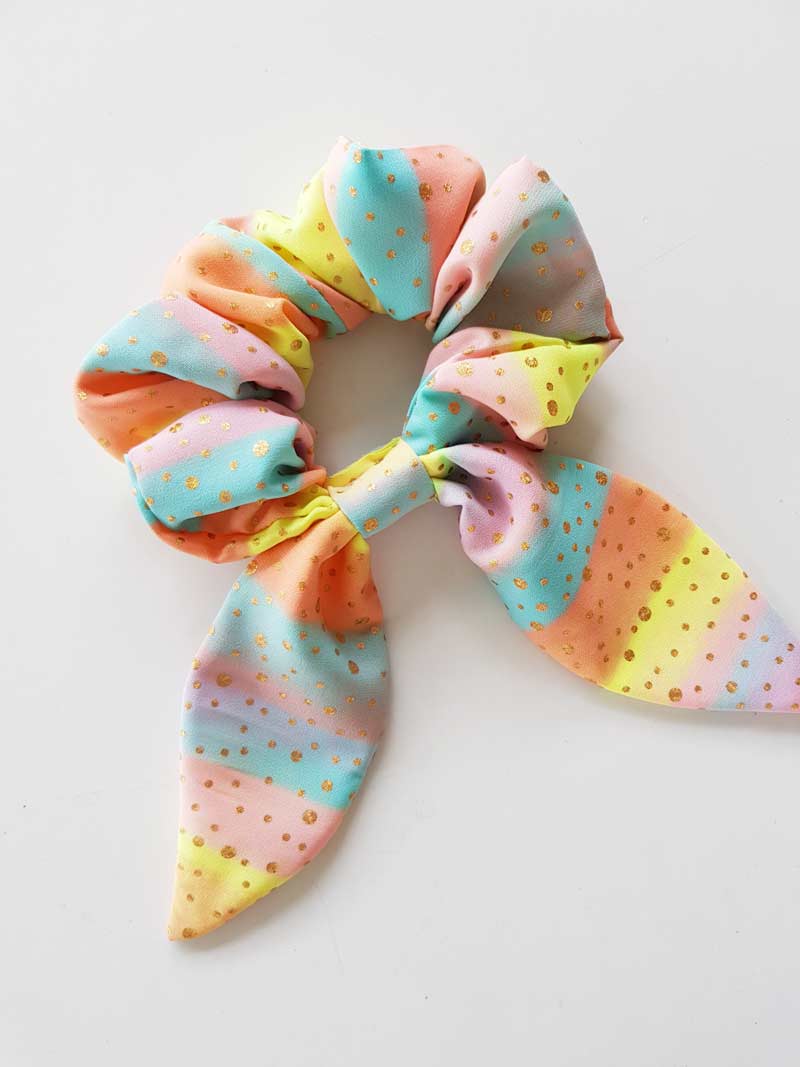
Throw your hair in a ponytail and rock your new scrunchie!

This easy sewing project is great to make for Christmas stocking fillers, friends and teen treats and even birthday favours for a beauty-themed party etc.
Right-click and save A4 printable pattern below

I hope you enjoyed this tutorial, if you have any questions, please feel free to ask in the comments.
Happy Sewing!
PIN FOR LATER
