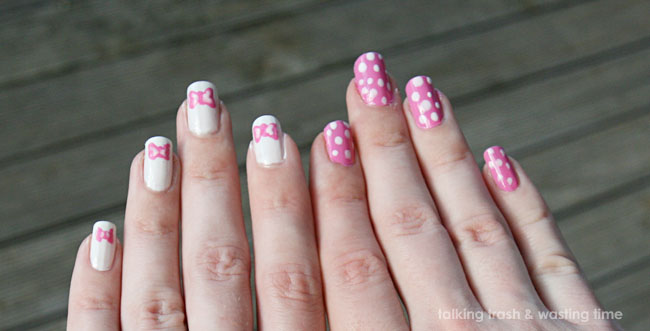
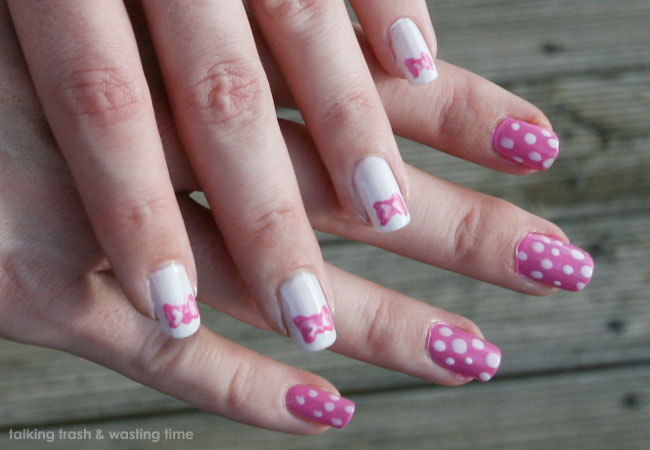
INSTRUCTIONS ON HOW TO CREATE YOUR BOW NAILS
- paint a solid colour base coat twice & let dry
- You can do any colour you like as long as it's contrasting to the bow colour.
- paint a dot for the center of the bow
- lightly paint 2 lines coming out from the center to form the edge of the bow
- paint inside those 2 lines to make a filled-in triangle
- once dry you can get your base coat colour and with a pinhead or needle, draw some little lines coming out from the center circle to make it look like the folds you would see on a bow
- once dry apply a clear topcoat
WHAT PRODUCTS I USED
China Glaze Pink Plumeria Nail Polish
OPI - Alpine Snow Nail Polish
Both available from here
Trying to take a photo with the puppy not getting in the background is harder than you would think, at least she has stopped chewing my toes for 5 minutes haha
TIP - you can use an old plastic bottle lid to drop some nail drops on for easy clean up when using a nail art design tip or pinhead/needle
I painted my other hand the bow pink colour and painted some white spots
on randomly, my daughter said these nails should be called "The Dance"
for the bow ties on one hand and spotted pretty dresses on the other, I
quite liked that lol
KEEP CREATING 💗
What is your favourite nail colour combo?
Let me know below in the comments


